The diary is where you'll spend most of your day. This guide covers the two ways to book appointments, how to navigate the diary view, and what to do when plans change.
Open the diary
Click Diary in the sidebar. By default you'll see this week's appointments laid out on a time grid.
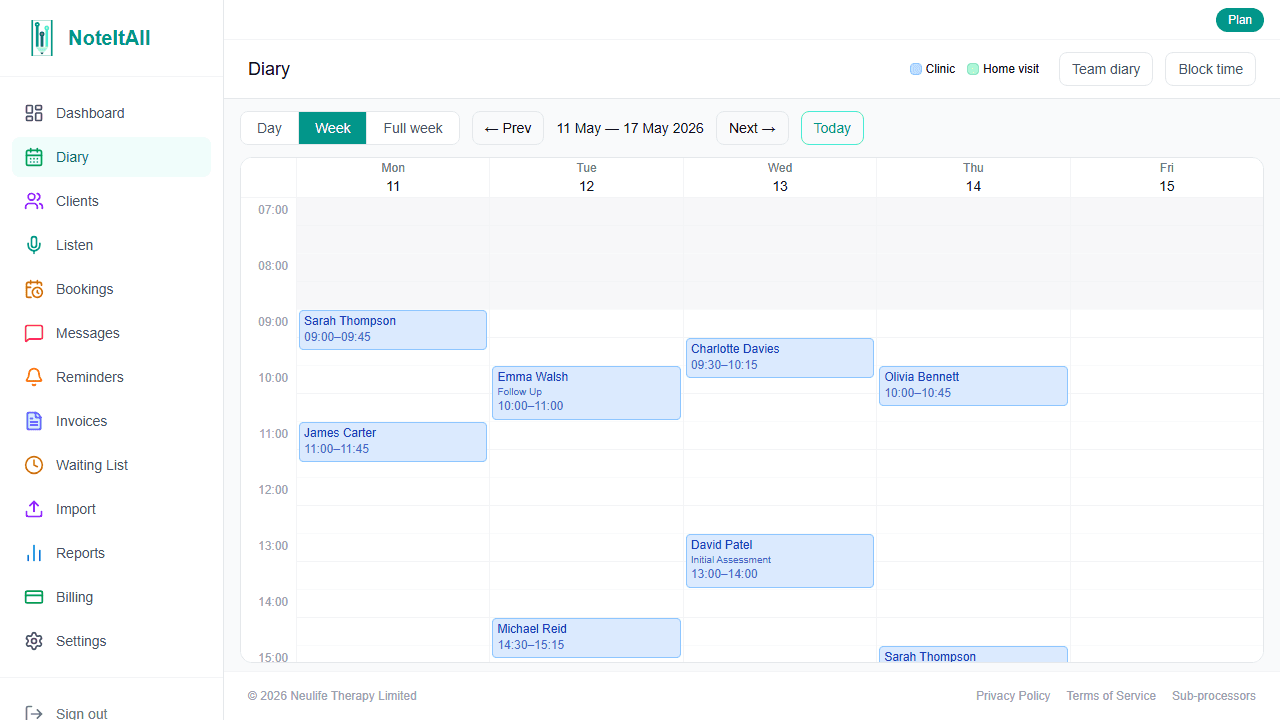
You can switch between Day, Week, and Full week views, and jump to any date using the date picker. The Team diary view shows every bookable practitioner side-by-side, which is useful for spotting gaps across the whole clinic at a glance.
Book an appointment from the diary
This is the fastest way to book when you're scheduling visually around your existing day.
- 1
Click an empty time slot
Click any empty space on the diary at the time you want. A booking modal opens with the start time, end time, and practitioner pre-filled from the slot you clicked.
- 2
Pick a client
Search for an existing client by name. The client field is required.
- 3
Set the details
Choose the appointment Type, pick a Duration from the preset chips (30, 45, 60, 90, or 120 minutes), and optionally assign a Room. The end time updates automatically based on the duration you pick.
- 4
Click 'Book'
The appointment appears immediately on the diary.
If you book a time that clashes with another appointment, or outside your configured working hours, NoteItAll warns you before saving — you can override and book anyway if you need to.
Book an appointment from a client's profile
When you already know who you're booking for, this path is quicker — the client is set for you.
- 1
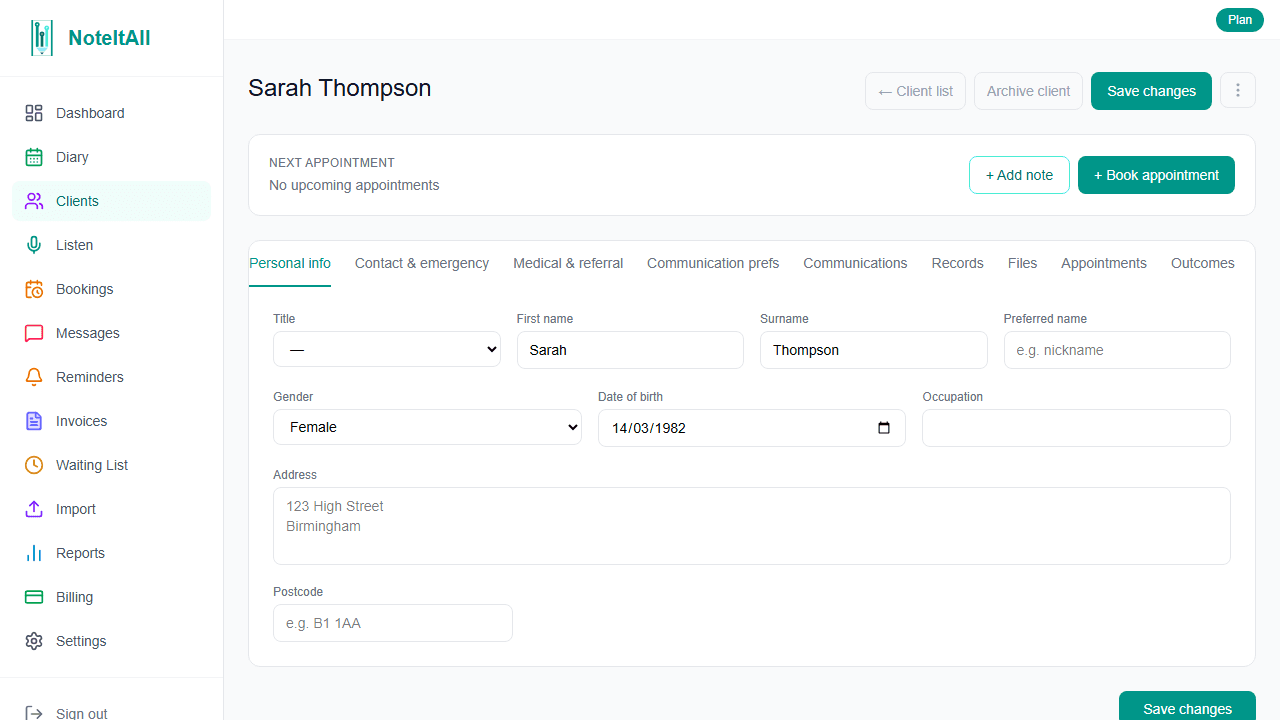
Open the client's profile
From the Clients page, click the client you want to book.
- 2
Click '+ Book appointment'
The button sits in the Next appointment banner at the top of the profile, next to + Add note.
- 3
Fill in the details on the diary
You'll land on the diary with this client pre-selected. Pick a date and time, set the type and duration, and click Book.
Changing plans
Click an existing appointment on the diary to open its details. From there you can:
- Reschedule by dragging the appointment to a new time slot, or by editing the start and end times directly. You can also drag the top or bottom edge to change its duration.
- Cancel the appointment using the Cancelled action. A reason prompt opens with quick-pick chips (Sick, Away, Cancelled by practitioner, Personal reasons, Work commitment) or you can type your own. You can choose to send the client a cancellation email at the same time.
- Mark as Did not attend when a client doesn't show up. Useful for reporting and for any DNA fees you've configured.
- Mark as Completed once the session has happened.
- Create an invoice for the session directly from the appointment.
- Add a note linked to the appointment.
Click Save and close when you're done.
Cancellations and Did-not-attends are kept on the client's record (under the Appointments tab) with colour-coded status badges, so you have a full history.
Advanced booking features
A few more powerful options live inside the booking modal — each will get its own dedicated guide:
- Joint appointments — book a second practitioner onto the same session using the Joint session with field. Handy for assessments, supervised sessions, or training.
- Block bookings — sell a course of sessions upfront and link individual appointments to the block. The appointment card shows session progress (e.g. "Session 3/6").
- Recurring appointments — set a session to repeat daily, every other day, weekly, fortnightly, or every four weeks, up to a chosen end date.
- Block time — reserve time on the diary for things like annual leave or admin, with an option to block out a whole day at once.
What's next
Once you're booking appointments regularly, you'll want to start invoicing for them. See the Invoicing and Stripe guide.