The booking widget is a public page where your patients can book appointments and class sessions without needing a NoteItAll account. This guide walks through setting up the rooms, services, schedules, and classes behind the widget; configuring how the widget looks; and sharing it with patients as a direct link or embedded on your own website.
- 1
Set up your rooms
Go to Settings → Booking → Rooms. Rooms are an optional way to organise your clinic's physical spaces. When a room is assigned to a practitioner's schedule, NoteItAll prevents two practitioners from being booked into the same room at the same time.
Click Add room, enter a name (e.g. Treatment Room 1) and an optional description, then save. Use the Active toggle to retire a room without deleting it — historical appointments that reference the room are preserved.
Skip this step if your clinic doesn't need to track rooms.

- 2
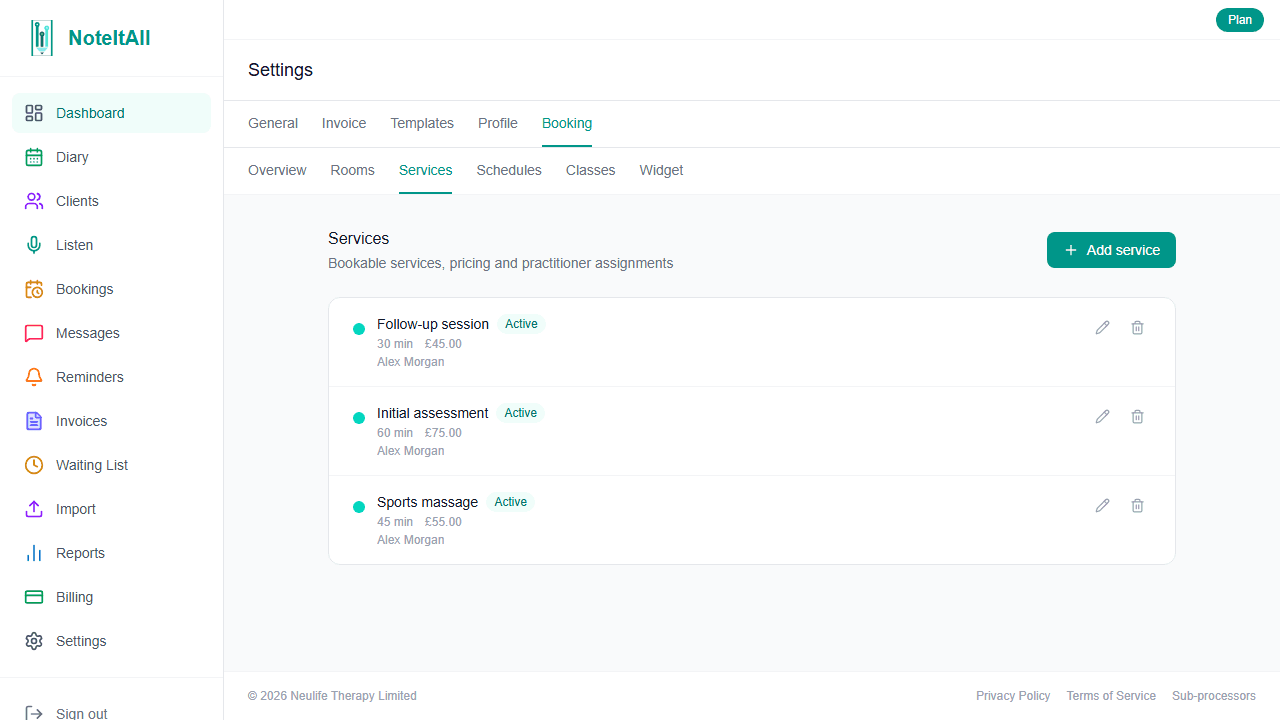
Add the services you offer
Go to Settings → Booking → Services. Services are the appointments your patients can book online — each one has a name, duration, and price, and can be restricted to specific practitioners.
Click Add service and fill in:
- Name — what patients see in the widget (e.g. Initial assessment).
- Description — optional; shown beneath the name on the service card.
- Duration — in minutes. This also determines the time slot interval the patient sees on the date picker.
- Price — shown to patients on the service card if you've enabled prices in widget appearance settings.
- Active — uncheck to hide the service from new bookings without deleting it.
- Show on booking widget — leave on for services that should appear publicly; turn off for internal-only services such as admin appointments.
- Practitioners — pick which practitioners offer this service. Leave empty to offer it from any active practitioner in the clinic.
Save. Repeat for each service you want to offer online.
- 3
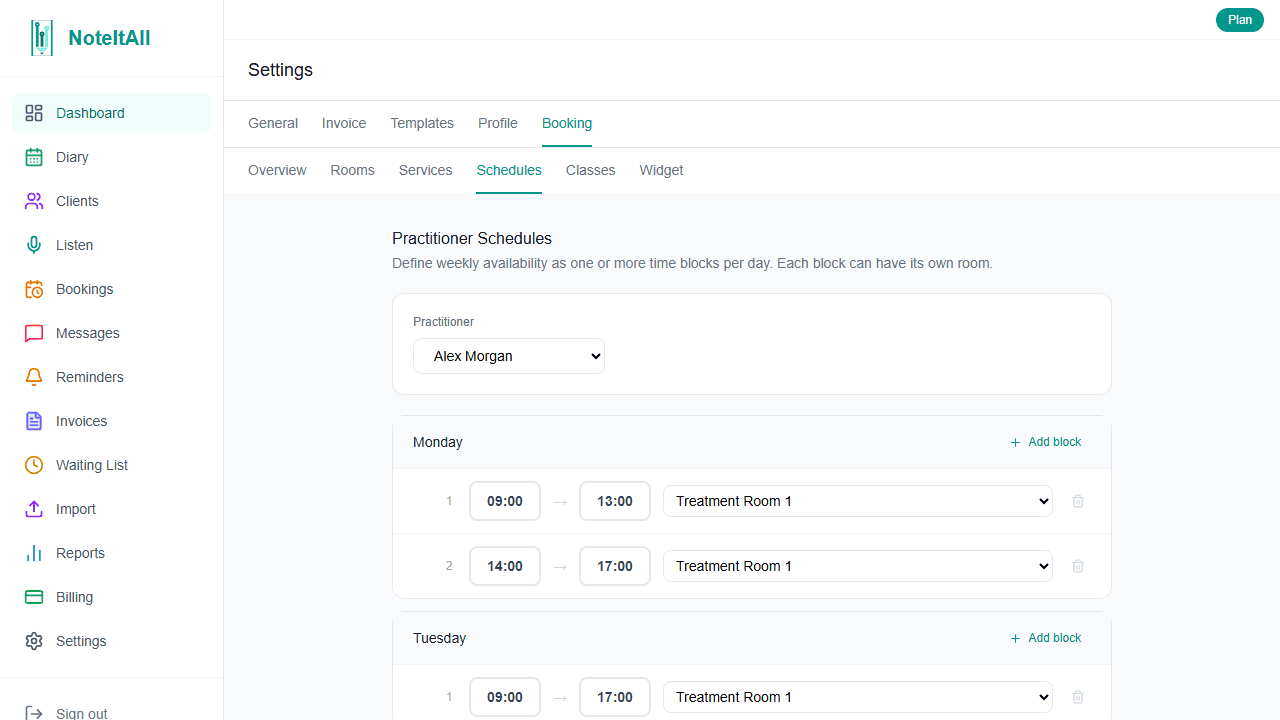
Set practitioner working hours
Go to Settings → Booking → Schedules. This is where you tell NoteItAll when each practitioner is available for bookings — the widget uses these blocks to generate the available time slots patients see.
Click Add schedule, then:
- Practitioner — who this schedule applies to.
- Day of week — Monday through Sunday.
- Start and end time — the practitioner's working hours on that day.
- Room — optional. If set, this block claims the room for the duration; the same room can't be used by another practitioner during the same hours.
- Active — uncheck to temporarily pause a schedule without losing it.
NoteItAll warns you if a new schedule overlaps an existing block for the same practitioner or double-books a room.
Add as many blocks per practitioner as you need — for example, Monday 9:00–12:00 and 14:00–17:00 to build in a lunch break.
- 4
Configure how the widget looks
Go to Settings → Booking → Widget. This page controls the appearance and rules of the public widget.
- Public URL — your clinic's unique booking address (e.g.
noteitall.io/book/your-clinic). Lowercase letters, numbers, and hyphens only; no spaces. - Heading — the title at the top of the widget. Defaults to Book an Appointment.
- Primary colour — the accent colour used on buttons, selected dates, and tabs. Pick something that matches your brand.
- Show prices — when on, service and class prices appear next to each item on the widget.
- Advance booking days — how far ahead patients can book. Defaults to 30; can be set up to 365.
- Minimum notice (hours) — how close to a slot a patient is allowed to book it. Set this to your typical preparation time so last-minute bookings don't catch you off guard.
Save. The widget reflects your changes immediately.
- Public URL — your clinic's unique booking address (e.g.
- 5
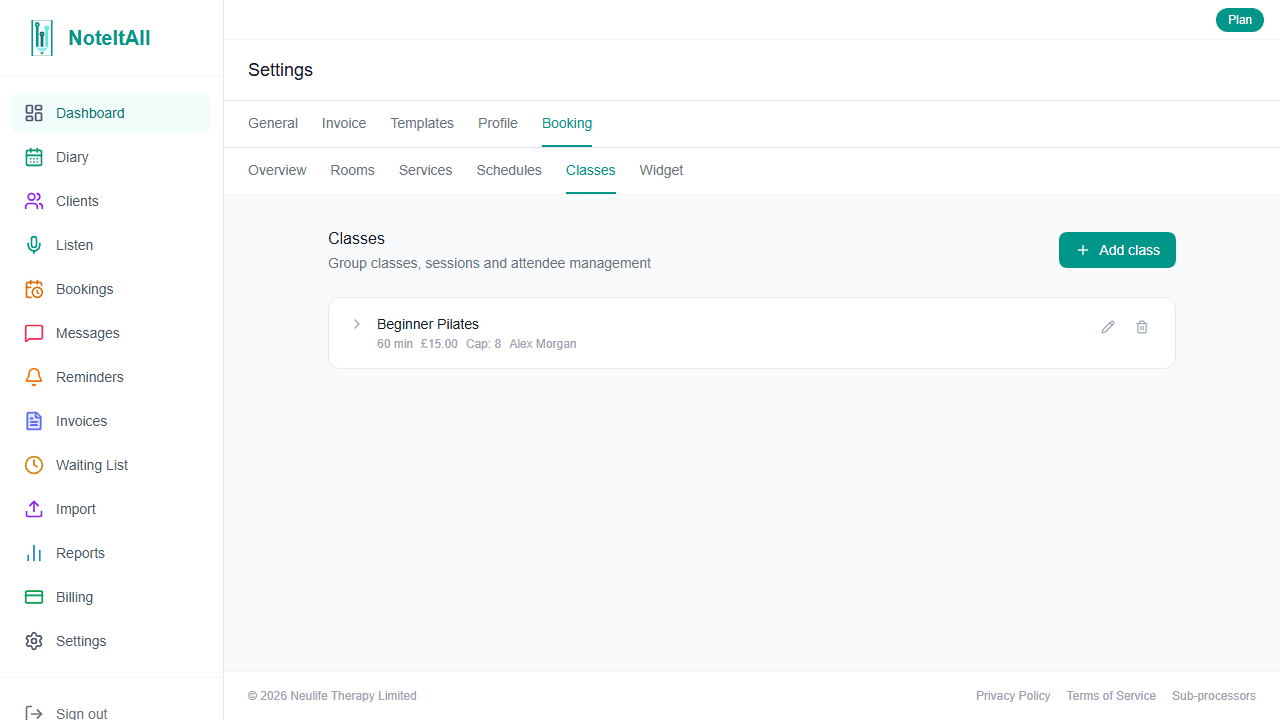
Add group classes (optional)
If you run group classes — yoga, Pilates, rehab circuits — go to Settings → Booking → Classes. Otherwise skip this step.
Click Add class and fill in:
- Name and Description — what patients see on the class card.
- Duration — how long each session lasts.
- Capacity — how many patients can attend each session.
- Pricing type — Per session (price per booking) or Series (price for the whole programme). This controls how the price is labelled on the widget; both options are billed by you outside the widget.
- Price — shown to patients if prices are enabled.
- Payment method — choose Pay at clinic. Patients pay you directly when they attend.
- Show on booking widget — leave on to make the class publicly bookable.
- Waitlist — when enabled, patients can join a waitlist if a session is full. With Auto-fill from waitlist also on, the next person in the queue is automatically offered the spot by email if someone cancels.
Save the class, then add its sessions. Use Add single session for a one-off, or Generate series to create multiple sessions at once (e.g. every Tuesday at 18:00 for six weeks). Each session inherits the class's duration, capacity, and pricing.
- 6
Share the widget with patients
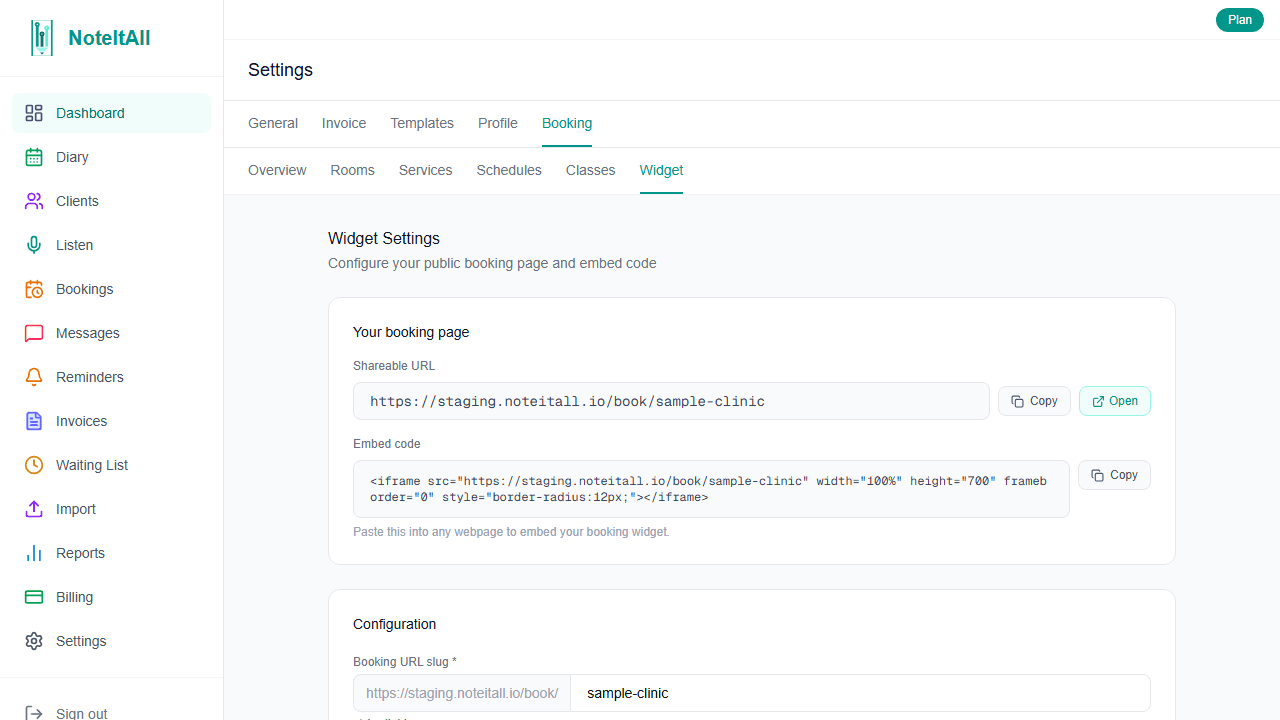
Back on Settings → Booking → Widget, you'll find two ways to share the widget.
Direct link — copy the public URL and share it anywhere: your website's Book now button, email signatures, social profiles, business cards, Google Business listing. Patients open the link in their browser and book directly.
Embed on your website — copy the iframe snippet shown beneath the URL and paste it into your website's HTML where you want the widget to appear. The widget renders inline at full width with a default height of 700 pixels.
<iframe src="https://app.noteitall.io/book/your-clinic" width="100%" height="700" frameborder="0" style="border-radius:12px;"></iframe>Adjust the
heightvalue if you want the widget taller or shorter on your page.
- 7
What happens after a patient books
As soon as a patient submits a booking, three things happen:
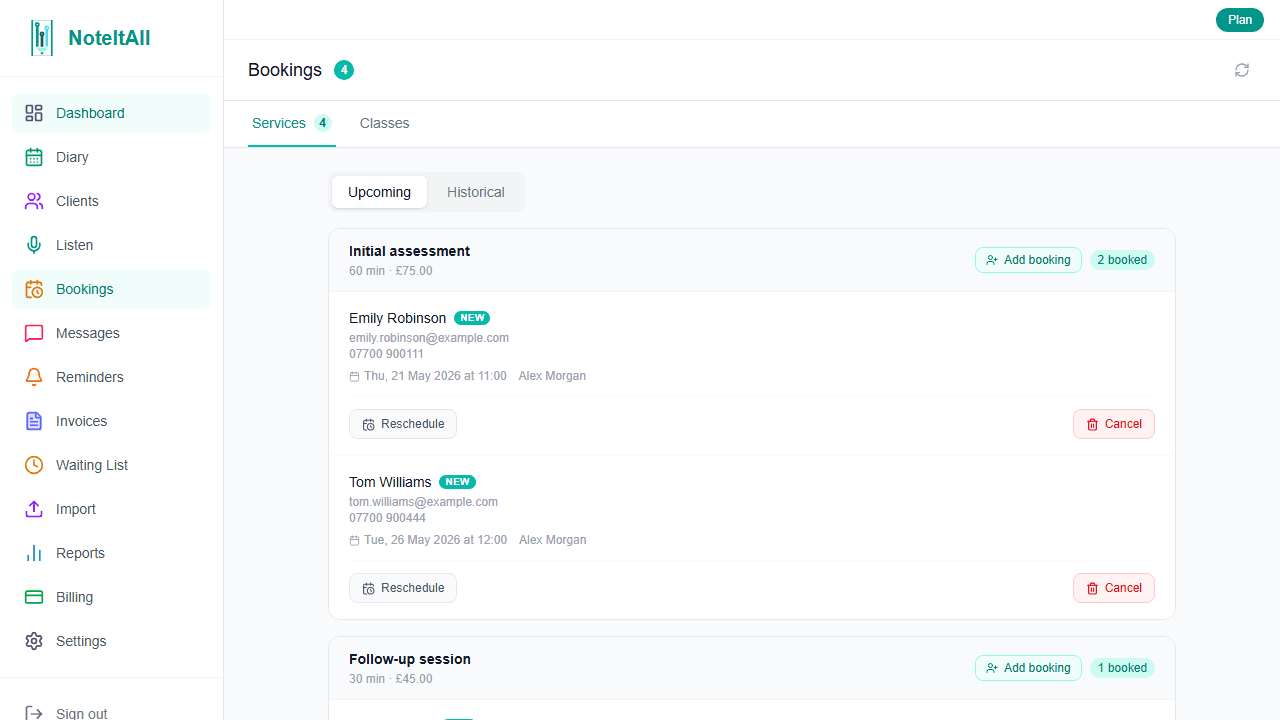
- The booking appears in Bookings in the sidebar. Each row shows the patient's name, contact details, the service or class, the slot, and whether they're a new client.
- The patient receives a confirmation email with the booking details and a cancellation link they can use up until the appointment starts.
- You and the assigned practitioner receive a notification email with the booking details and the patient's contact information.
Appointment bookings also appear on the practitioner's diary, marked as unconfirmed until you confirm them. Class bookings appear in the class's session attendee list.
When a class is full and waitlist is enabled, the same flow applies — the patient receives a waitlist email, you get a notification, and if Auto-fill from waitlist is on, NoteItAll automatically offers the spot to the next person in the queue whenever someone cancels.
Good to know
- Recurring classes book session-by-session — even when you generate a series of sessions in one go, patients book each session individually rather than the whole programme at once.
- Returning patients are auto-linked — when someone books using an email already in your patient list, NoteItAll links the booking to their existing record. No duplicate patient files are created.
- Cancellations are tracked, not deleted — when a patient cancels via their email link, the booking moves to cancelled status and stays on the record.
- Service assignments control who's bookable — to stop a practitioner being booked for a service, remove them from that service's practitioner list rather than disabling the practitioner.