Every appointment, note, and invoice in NoteItAll is tied to a client. This guide walks you through adding your first client and saving a session note against their record.
Add a new client
- 1
Open the Clients page
Click Clients in the sidebar. You'll see a list of everyone in your clinic — empty if this is your first time.
- 2
Click 'Add client'
The button sits in the top-right of the client list. An inline form opens directly on the same page — no separate screen.

- 3
Fill in the form
At least one of First name or Surname is required. Phone, email, and referral source are all optional — you can add them later from the client's profile.
- 4
Save and open the profile
Click Save & open profile. You'll land straight on the new client's page.
You don't need to fill everything upfront. Medical history, GP details, and emergency contacts can all be added later by editing the client's profile.
Write the first session note
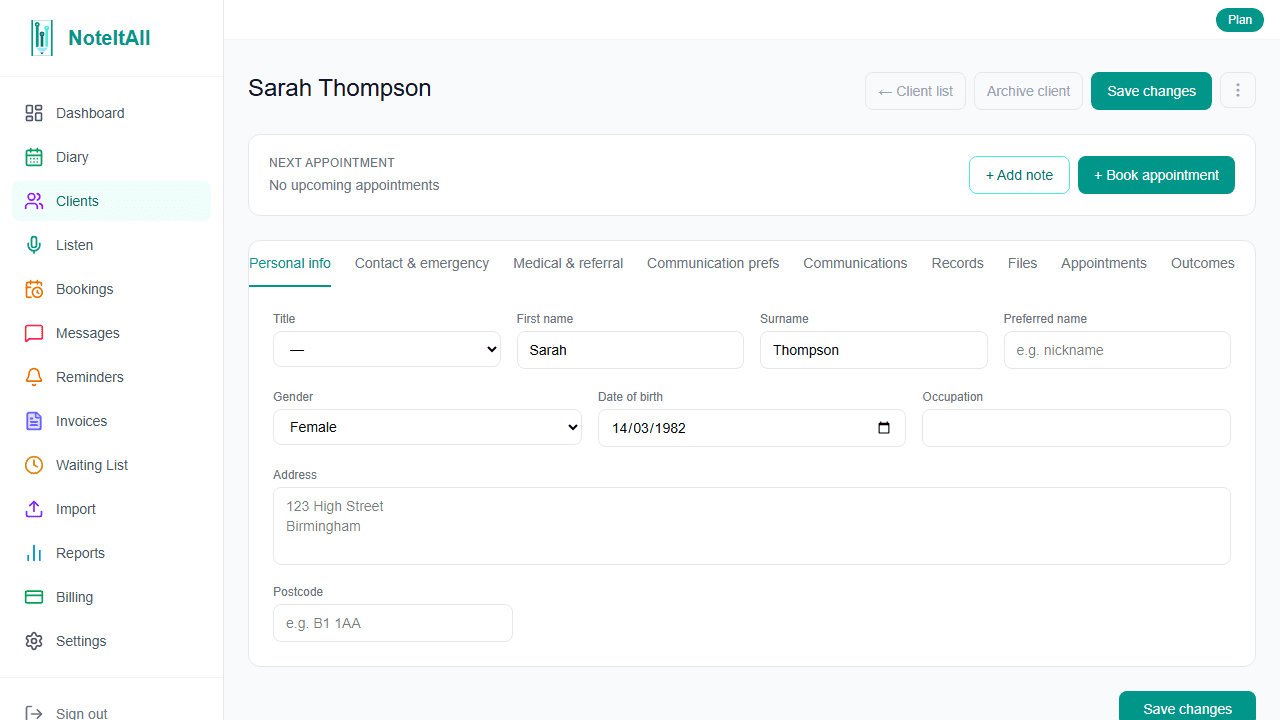
The quickest way into a new note is from the client's profile page.
- 1
Click '+ Add note'
On the client's profile, the + Add note button sits in the Next appointment banner at the top of the page. This opens the note editor.
- 2
Pick a template (optional)
Use the template selector to start from a structured layout (SOAP, assessment, etc.), or skip it and build the note from scratch using the block palette.
- 3
Write the note
Add blocks for subjective findings, objective measurements, plans, and so on. You can type freely or paste in rough notes and tidy them up afterwards.
- 4
Save as draft, or finalise
Use Save as draft while the note is still a work in progress — drafts show an amber Draft badge. When you're ready, click Finalise to lock the note. Finalised notes show an emerald Finalised badge.
Once you finalise a note it becomes read-only — a lock icon and "Read only" label appear in the top bar. You can't edit it, only add a follow-up note. This matches how clinical records work for medico-legal purposes, so finalise only when you're confident the note is complete.
Where to find existing notes
Saved notes live inside the Records tab on the client's profile, under the Notes section. Each note shows its status badge (Draft or Finalised), the date, and a preview.
A note on AI assistance
NoteItAll has two AI-assist features:
- Ambient recording — record a session live and generate a draft note from the transcript. This lives under the Listen item in the sidebar, not on the new-note page itself.
- AI-generated drafts — when a draft is created by AI, you'll see an amber disclaimer: "AI-generated draft. Review and edit carefully before signing — you remain responsible for the clinical accuracy of the final note."
Both features require an active ambient AI seat. There's a dedicated guide for ambient recording — coming soon.
What's next
Now that you have a client and a note, you're ready to book them in. See the Appointments and diary guide.