Team members are added by invitation — you send a link, they create their account, and they land in your clinic as a practitioner. This guide walks through sending an invite, what the recipient sees, and how to manage invites that are pending or need to be resent.
Send an invite
Only users with the Owner or Practice Manager role can invite team members.
- 1
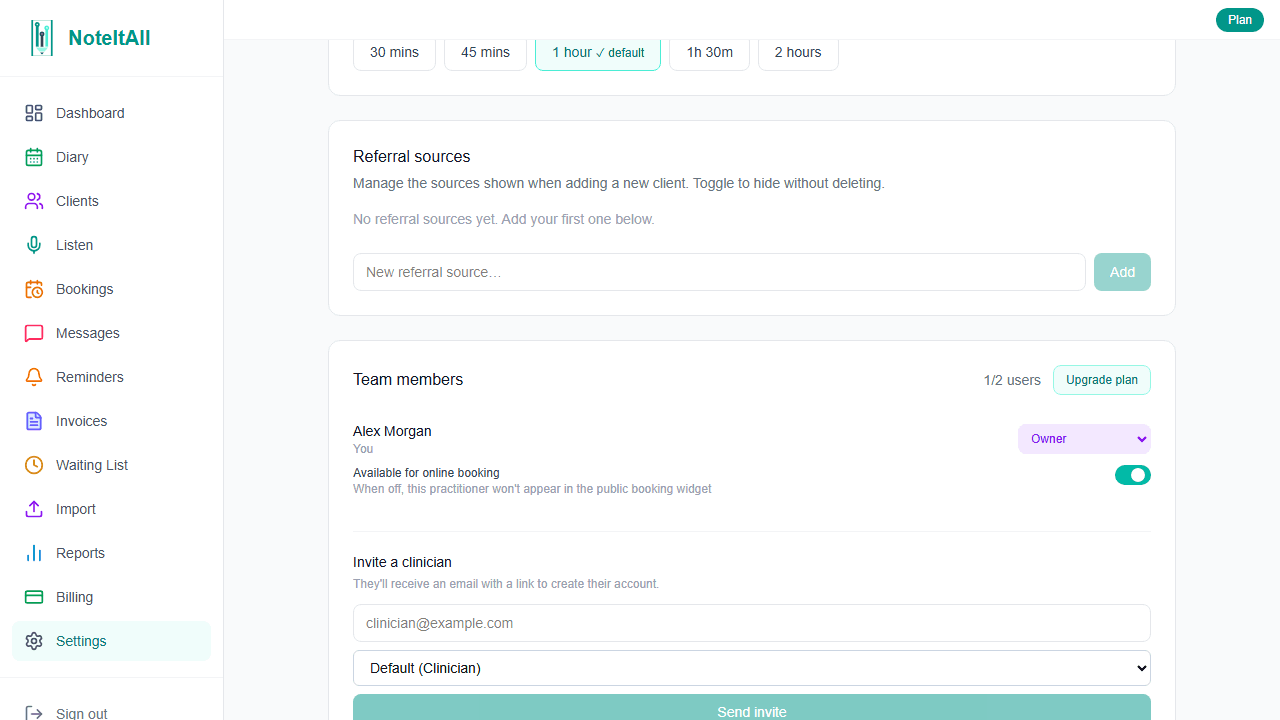
Open Settings
Click Settings in the sidebar, then make sure you're on the General tab.
- 2
Find the Team members section
Scroll down to Team members. You'll see your active practitioners listed here, along with a user count (e.g. 2/20 users on a free trial).
- 3
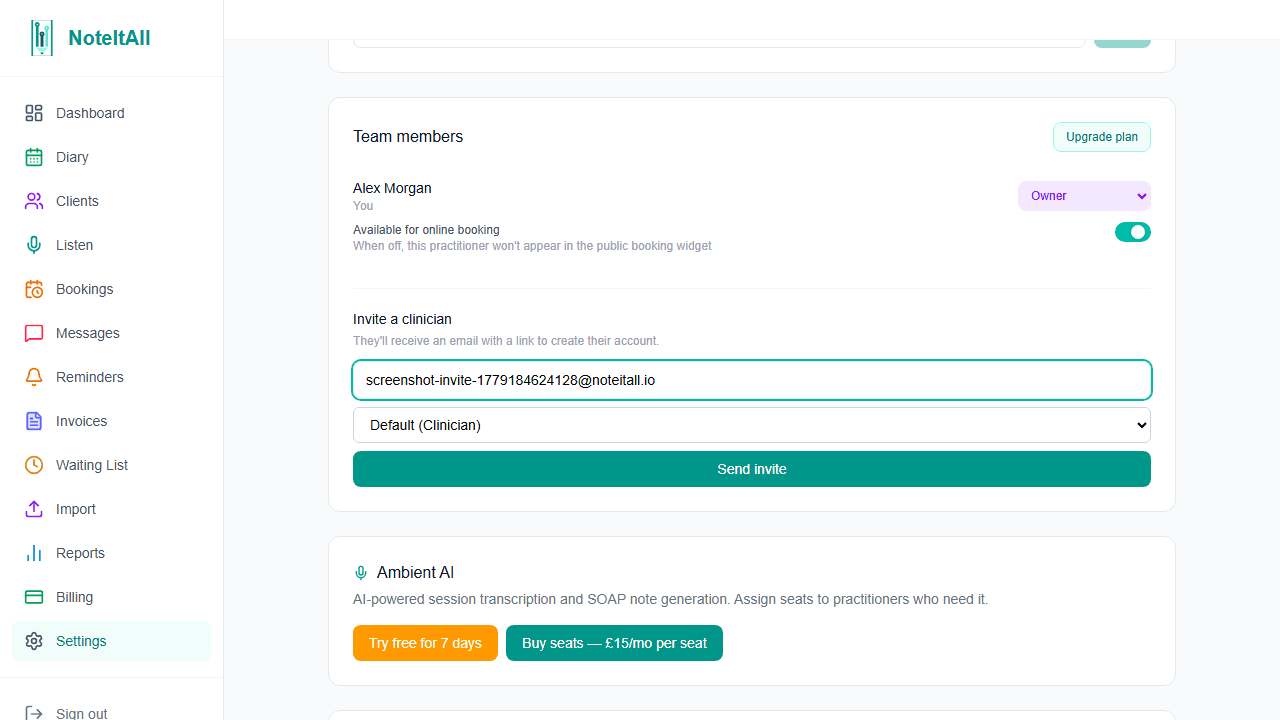
Fill in the invite form
Below any pending invites you'll find the Invite a clinician form. Enter the recipient's email address and pick a role from the dropdown — or leave it at the default (Clinician). Roles available are Owner, Practice Manager, Admin, and Clinician, plus any custom roles you've created.
- 4
Click 'Send invite'
The recipient gets an email with an Accept invitation button. The link is valid for 7 days. If email delivery fails, the invite URL is shown on screen so you can share it manually.
If your clinic is on a free trial, invites are blocked once you reach 20 active members. You'll see a "User limit reached" message in place of the invite form. Remove a member or upgrade your plan to unlock more seats.
What the recipient sees
The invitation email contains a single Accept invitation link. Clicking it opens the /join page.
- 1
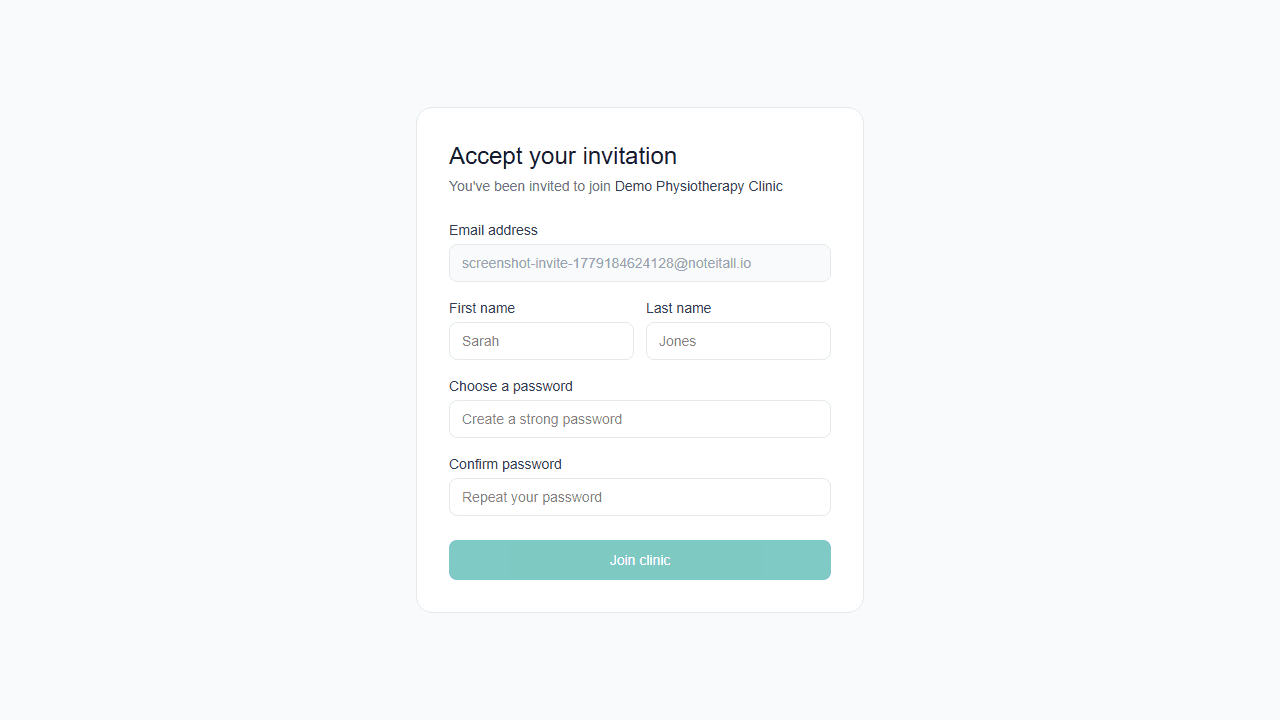
Recipient clicks the link
The join page shows the clinic name and the email address the invite was sent to — that field is pre-filled and locked.
- 2
They fill in their details
First name, last name, and a new password are required. The password strength checklist must be satisfied before they can submit.
- 3
They click 'Join clinic'
Their account is created and they're signed in automatically. They land on the clinic dashboard.
If the link has expired, the recipient sees: "This invite link has expired. Please ask the clinic owner to resend it." Use the Resend button in the pending invites list to generate a fresh 7-day link.
If the link was cancelled, they see: "This invite link is invalid."
After they join
New team members are not visible in the diary or booking widget by default. The "Available for online booking" toggle is off when an account is first created. After the new member accepts their invite, go to Settings → Team members, find their row in the active list, and turn the toggle on if you want them to appear as a bookable practitioner.
Each practitioner's role determines what they can see and do in the clinic. You can change a member's role at any time from the Team members list — just use the role dropdown on their row (visible if you have the roles.manage permission).
Manage pending invites
The Pending invites block sits above the invite form and is visible whenever there are outstanding invitations. Each row shows the recipient's email, their assigned role, the date the invite was sent, and an expiry indicator.
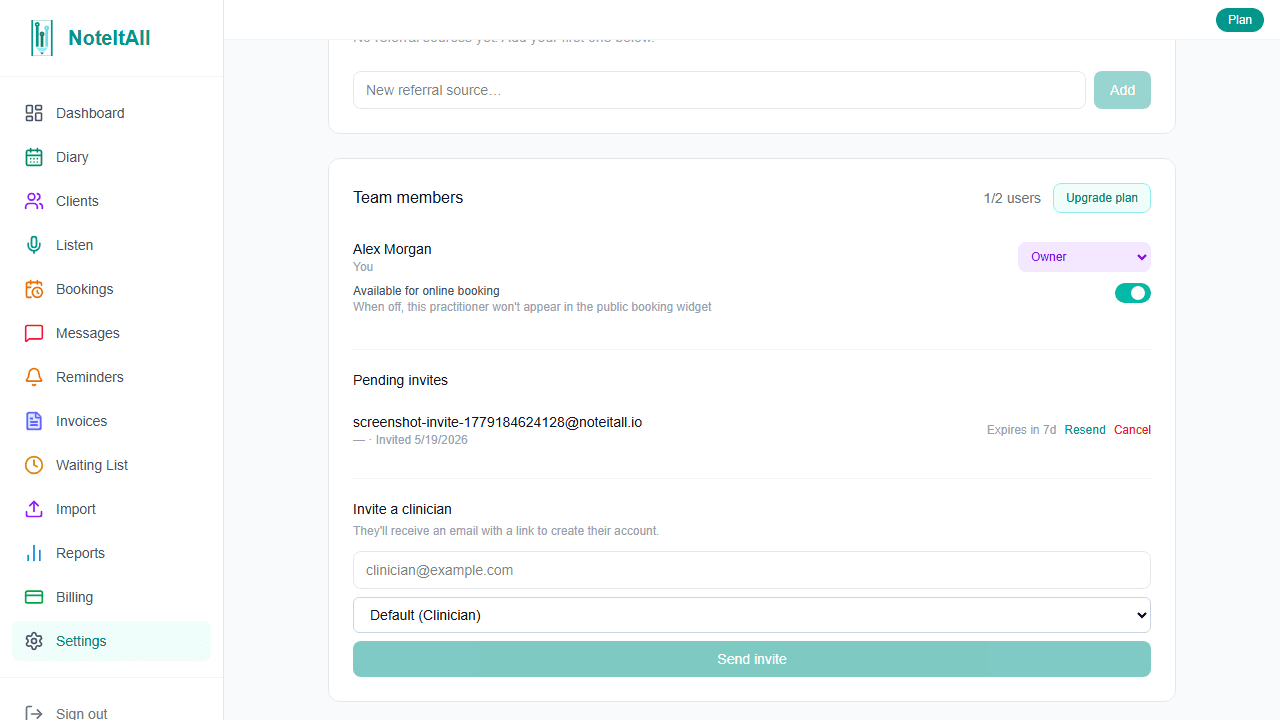
- Expires in Nd — the invite is still valid. The link works for 7 days from the last time it was sent.
- Expired (red badge) — the 7-day window has passed. The recipient's link no longer works. Use Resend to issue a fresh one.
Resend generates a new token and resets the expiry to 7 days from now. Any previous link the recipient received becomes invalid immediately — only the newly sent link works. This also applies if you send an invite to the same email address a second time: the old link is replaced.
Cancel removes the invite entirely. The recipient's link will show "This invite link is invalid" if they click it. Use Cancel when you sent an invite to the wrong address, or the person is no longer joining.
Removing an accepted team member
Cancel only works on pending invites — people who haven't yet accepted. If someone has already joined and you need to remove them, use the Remove member button on their row in the active practitioners list (above the pending invites block). That's a separate offboarding flow which revokes access immediately and preserves all their records.
What's next
Once your team is set up, you may want to configure working hours for each practitioner, or set up the public booking widget so clients can book online. Both are covered in their own guides.